Installing Kibana with Sentinl on Kubernetes
This article walks through installing Kibana together with the Sentinl plugin on the Kubernetes platform. Sentinl is a free, open-source plugin that brings reporting and alerting features to Kibana, and it’s developed by Siren Solutions (https://github.com/sirensolutions).
Since we’re running on Kubernetes, the natural first step is to build a Kibana image with Sentinl baked in rather than installing it by hand later. Here is what our Dockerfile looks like.
FROM docker.elastic.co/kibana/kibana:5.3.2
RUN /opt/kibana/bin/kibana-plugin install https://github.com/sirensolutions/sentinl/releases/download/tag-5.4/sentinl-v5.3.2.zip
COPY kibana.yml /usr/share/kibana/config/kibana.yml
The image also copies in a kibana.yml, which points Kibana at Elasticsearch and configures Sentinl. It looks like this.
server.host: "0"
elasticsearch.url: http://elasticsearch:9200
xpack.security.enabled: false
xpack.monitoring.enabled: false
xpack.graph.enabled: false
xpack.reporting.enabled: false
## well we dont need x-Pack thanks to Sentinl : )
sentinl:
  settings:
    slack:
      active: true
      username: test
      hook: 'our_unique_webhook_link'
      channel: 'general'
One thing worth noting here is the version match: in this tutorial we are using Kibana version 5.3.2, and Sentinl has a matching version.
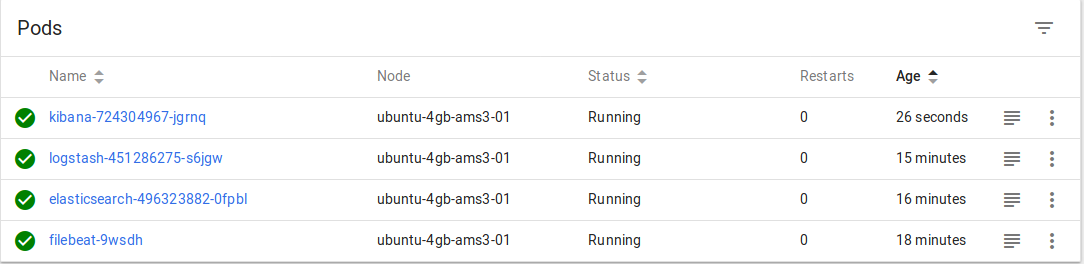
Kibana doesn’t stand alone, of course, so it needs the rest of the stack alongside it. Our Elasticsearch, Logstash and Filebeat Dockerfiles are exactly like the ones in this repo, so thanks to komljen for creating these.
https://github.com/komljen/kube-elk-filebeat
After we run these YAML files on our Kubernetes node, here is what it looks like.
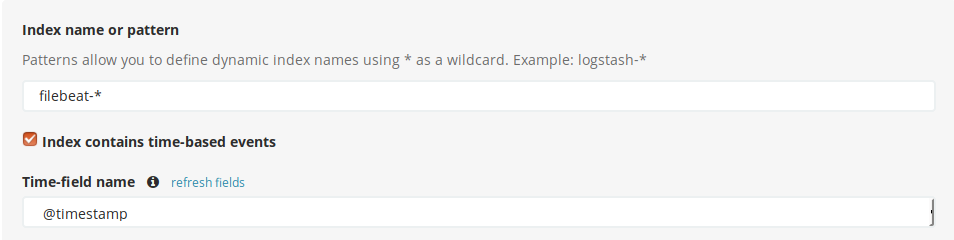
Our example (komljen filebeat) uses filebeat-* as the index name, so that’s the index we point Kibana-Sentinl at.
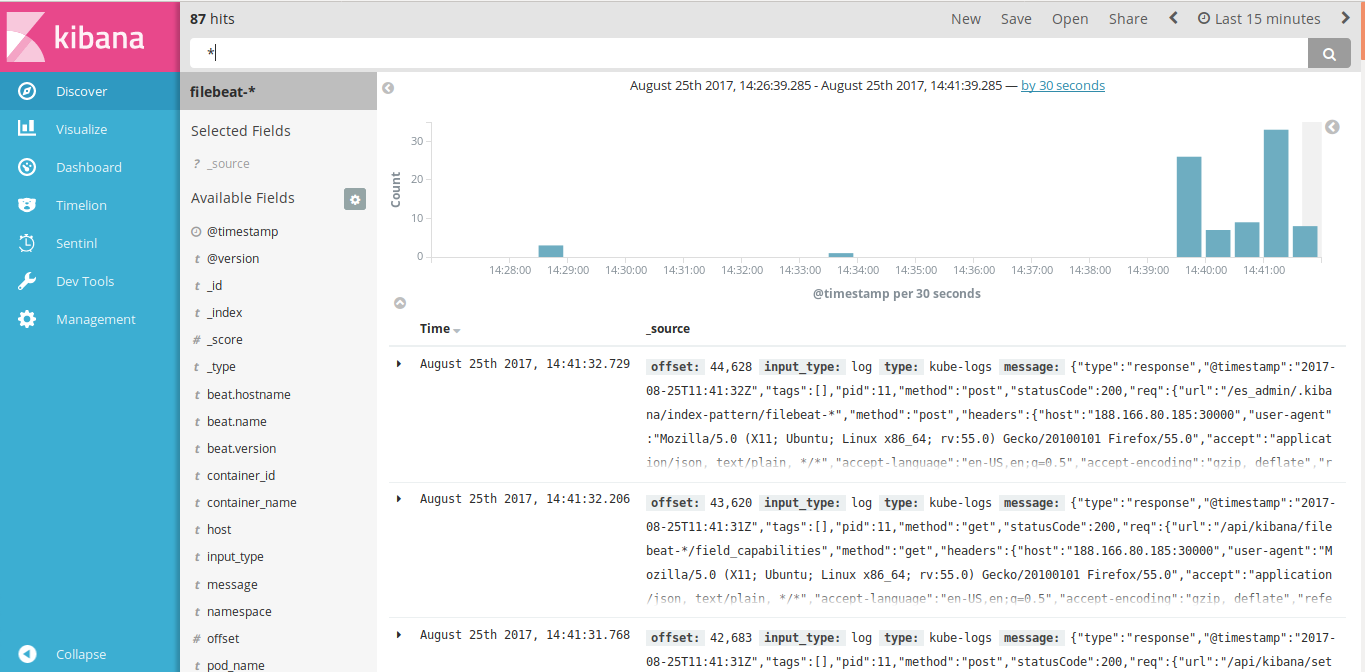
With that in place, our Kibana home looks like this.
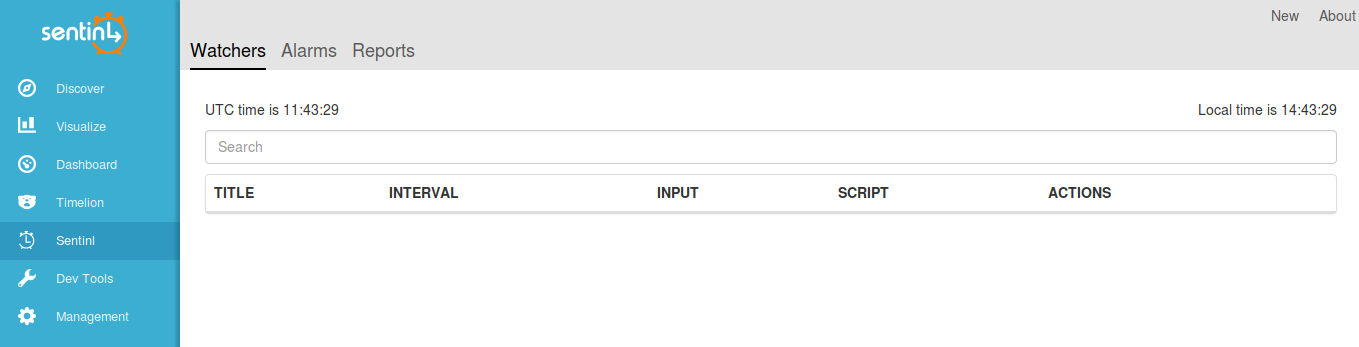
And here is the Sentinl panel.