
Installing Kubernetes with Kubeadm
Kubeadm is one of the simplest ways to bring up a Kubernetes node, and in this post that’s exactly what we’ll do. Everything here runs on our test system, which is Ubuntu 16.04 LTS.
Before kubeadm can do its job, it expects a couple of things to already be in place: Docker and kubectl. For the Docker side, you can refer to our previous post. kubectl comes from the Kubernetes repository, so we add that repository and install kubelet with the commands below.
https://kubernetes.io/docs/setup/independent/install-kubeadm/
apt-get update && apt-get install -y apt-transport-https
curl -s https://packages.cloud.google.com/apt/doc/apt-key.gpg | apt-key add -
cat <<EOF >/etc/apt/sources.list.d/kubernetes.list
deb http://apt.kubernetes.io/ kubernetes-xenial main
EOF
apt-get update
apt-get install -y kubelet kubeadm
With the prerequisites ready, we kick things off with kubeadm init. This may take a little while.
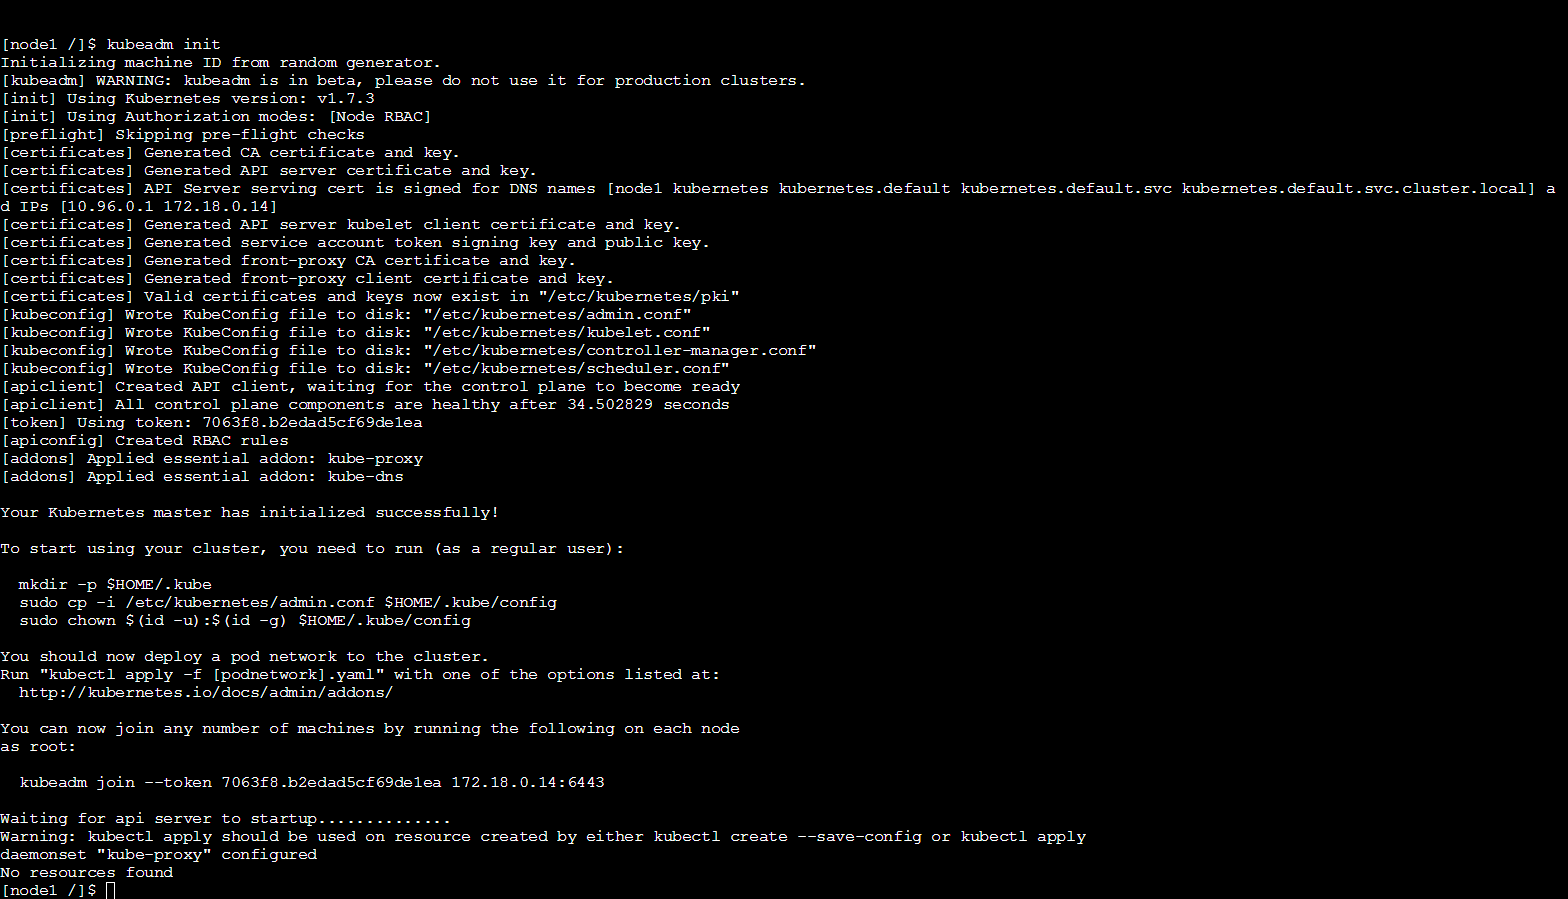
As the output points out, the kube config directory is something we have to set up ourselves.
mkdir -p $HOME/.kube
  sudo cp -i /etc/kubernetes/admin.conf $HOME/.kube/config
  sudo chown $(id -u):$(id -g) $HOME/.kube/config
A fresh cluster still has no networking, so the next step is installing a network plugin for Kubernetes. Here I’m going with Weave Works.
kubectl apply -n kube-system -f \
"https://cloud.weave.works/k8s/net?k8s-version=$(kubectl version | base64 | tr -d '\n')"

With that, our Kubernetes node is ready. If you’d like a web UI on top of it, the next thing to install is the Kubernetes dashboard.
– Turkish Version –
Kubeadm ile Kubernetes Kurulumu
Kubeadm, bir Kubernetes node’unu ayağa kaldırmanın en pratik yollarından biri ve bu yazımızda tam olarak bunu yapıyoruz. Buradaki her şey test sistemimiz olan Ubuntu 16.04 LTS üzerinde çalışıyor.
Kubeadm işini yapabilmeden önce ortamda bazı şeylerin hazır olmasını bekliyor: Docker ve kubectl. Docker tarafı için buradan önceki yazımıza gidebilirsiniz. kubectl ise Kubernetes reposundan geldiği için, o repoyu ekleyip aşağıdaki komutlarla kubelet kurulumunu yapıyoruz.
https://kubernetes.io/docs/setup/independent/install-kubeadm/
apt-get update && apt-get install -y apt-transport-https
curl -s https://packages.cloud.google.com/apt/doc/apt-key.gpg | apt-key add -
cat <<EOF >/etc/apt/sources.list.d/kubernetes.list
deb http://apt.kubernetes.io/ kubernetes-xenial main
EOF
apt-get update
apt-get install -y kubelet kubeadm
Ön gereksinimler hazır olduğuna göre işlemi kubeadm init yazarak başlatıyoruz. Biraz uzun sürebilir.
Çıktının da belirttiği gibi, kube config klasörünü bizim oluşturmamız gerekiyor.
mkdir -p $HOME/.kube
  sudo cp -i /etc/kubernetes/admin.conf $HOME/.kube/config
  sudo chown $(id -u):$(id -g) $HOME/.kube/config
Yeni kurulan bir cluster’da henüz ağ bulunmadığından, sıradaki adım Kubernetes için bir network plugin yüklemek. Burada Weave Works kullanıyorum.
kubectl apply -n kube-system -f \
"https://cloud.weave.works/k8s/net?k8s-version=$(kubectl version | base64 | tr -d '\n')"
Böylece Kubernetes node’umuz hazır. Üstüne bir web UI da istiyorsanız, kurmanız gereken sıradaki şey Kubernetes dashboard.